Mods are one of the most powerful ways to customize and enhance your Minecraft experience. With the help of Minecraft Forge, a widely used modding platform, you can easily add new gameplay features, mechanics, visual upgrades, and much more to your game.
This guide will walk you through the entire process of installing mods with Minecraft Forge — from finding the right mods to activating them in-game.
Before you begin, make sure you’ve installed Minecraft Forge. If you haven’t done that yet, follow our full step-by-step guide here: How to Download and Install Minecraft Forge.
Quick Tutorial
- Go to the mod download page.
- Download the mod(s) you want to use.
- Press
Windows + R, type%appdata%, and press Enter to access the.minecraftfolder. - Locate or create a
modsfolder and move the mod file into it. - Launch Minecraft with the Forge version.
- From the main menu, click “Mods” then “Open Mods Folder”.
- Select the mod you want to activate, click Done, and start playing.
Detailed Tutorial
Step 1: Access the Mod Download Page
To start, browse a trusted Minecraft mod site where you can view detailed descriptions, screenshots, and download links for thousands of Forge-compatible mods. Choose a mod that suits your playstyle or goals whether you’re looking for adventure, quality-of-life upgrades, or performance improvements.

Step 2: Download Your Favorite Mods
Each mod page typically includes:
- A list of features
- Compatible Minecraft versions
- Example images
- A clearly marked Download section
Make sure the mod is designed for Forge, and that its version matches your installed Minecraft version (e.g. 1.20.1, 1.21.7).
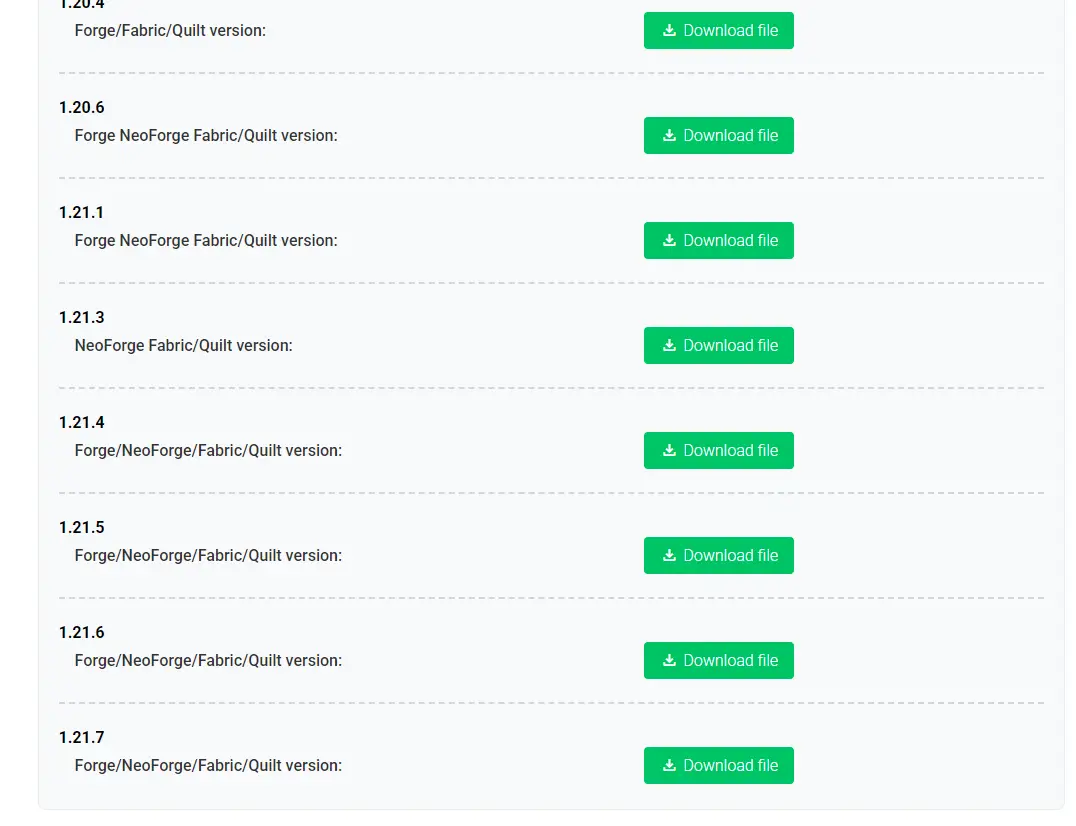
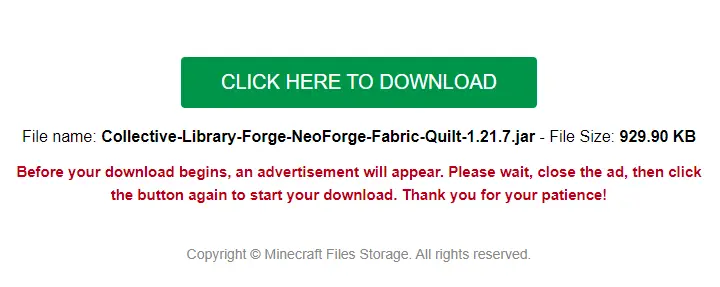
Click the download link, then confirm or wait for the file to begin downloading. You should receive a .jar file when the download completes.
Step 3: Open or Create the Mods Folder
Once you’ve downloaded the .jar mod file, it needs to be placed in the correct folder so Minecraft can detect and load it.
Option 1: Using the Run Command
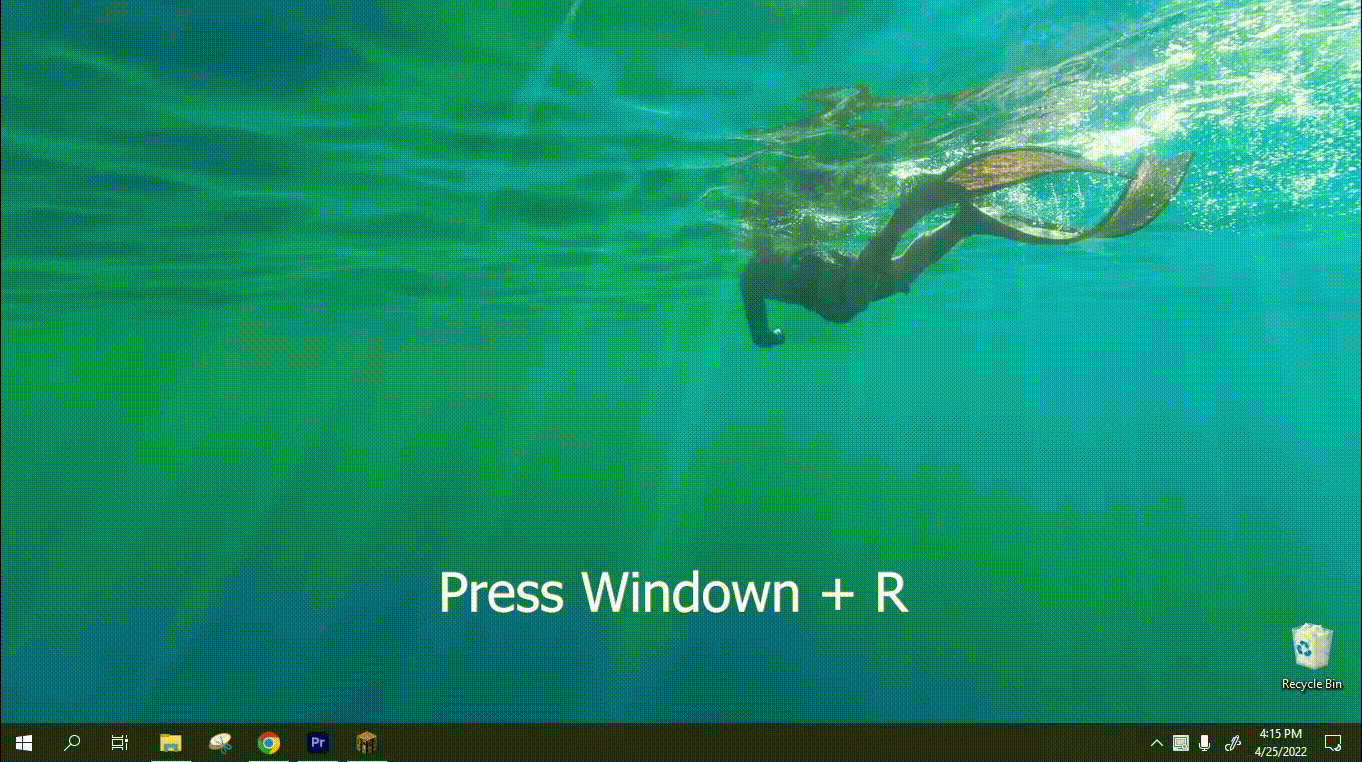
- Press
Windows + R - Type
%appdata%and press Enter - Open the
.minecraftfolder - Look for a folder named
mods
- If it exists, open it
- If not, right-click > New > Folder and name it
mods

Option 2: Open Mods Folder from the Game
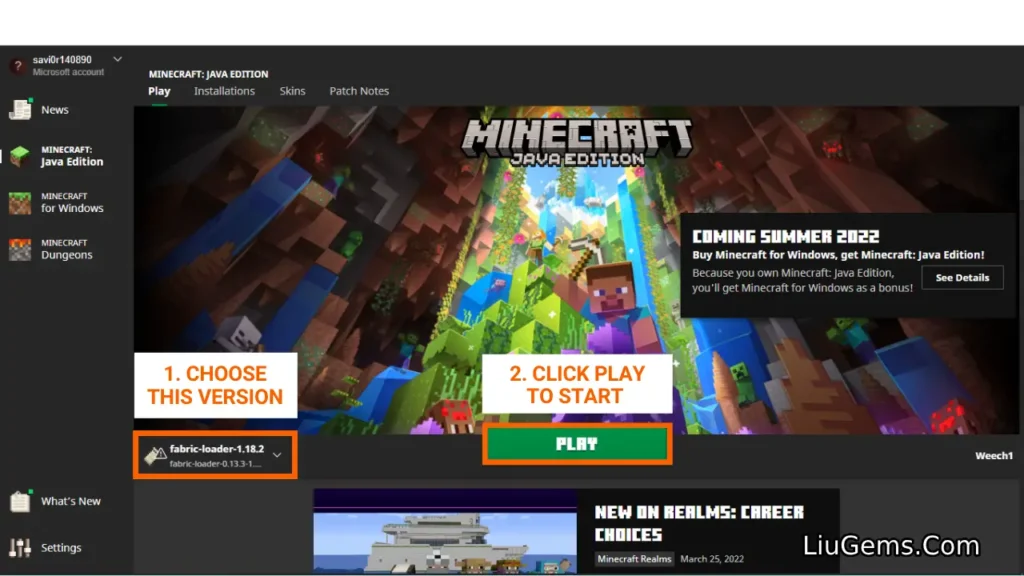
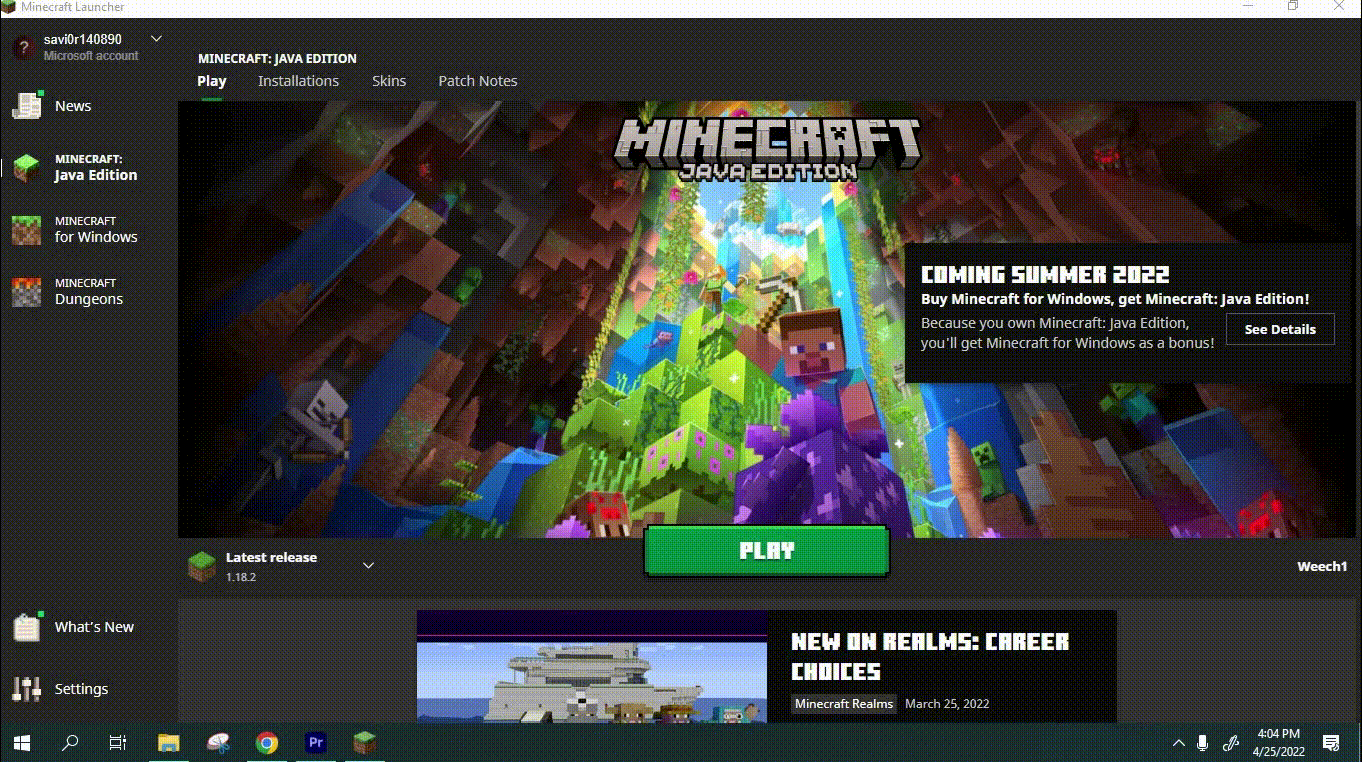
- Launch Minecraft using the Forge profile
- From the main menu, click the Mods button
- Click Open Mods Folder this will open the correct directory
- Close Minecraft for now and move on to Step 4
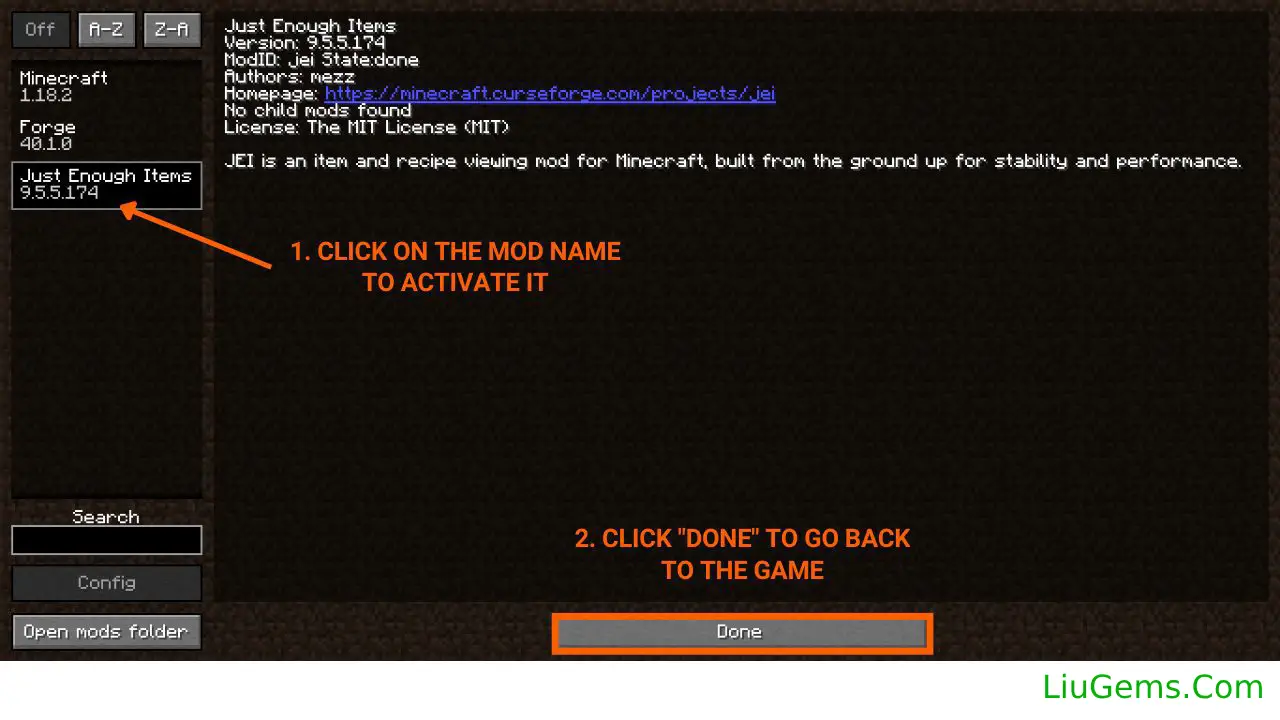
Step 4: Install and Activate the Mod File
Move or copy the downloaded .jar file from Step 2 into the mods folder you opened or created in Step 3.
Once the file is in place:
- Launch Minecraft with the Forge version
- On the main menu, click the Mods button
- Inside the list, you’ll see the mod you just added
- Click on the mod’s name if it appears in bold, it means the mod is active
- Click Done, return to the main menu, and enjoy your new modded experience
Now that you know how to install mods with Forge, it’s time to explore and expand your Minecraft world like never before.