Installing data packs is a great way to customize your Minecraft experience without needing full mod support. Unlike mods, data packs don’t require external launchers and can be used with vanilla Minecraft. Here’s a step-by-step guide to help you download, install, and activate data packs correctly.
Quick Installation Guide
📥 Step 1: Download the Data Pack
Click the download button and save the .zip or .folder file (do not unzip it).
Visit a trusted website like liugems.com Download Data Pack page
Choose a data pack compatible with your Minecraft version.
Detailed Tutorial:
Step 1: Access the data packs download page
- You’ll find an extensive collection of data packs to suit every playstyle and preference. Visit this page to explore the latest additions, complete with in-depth reviews and direct download links for each pack.
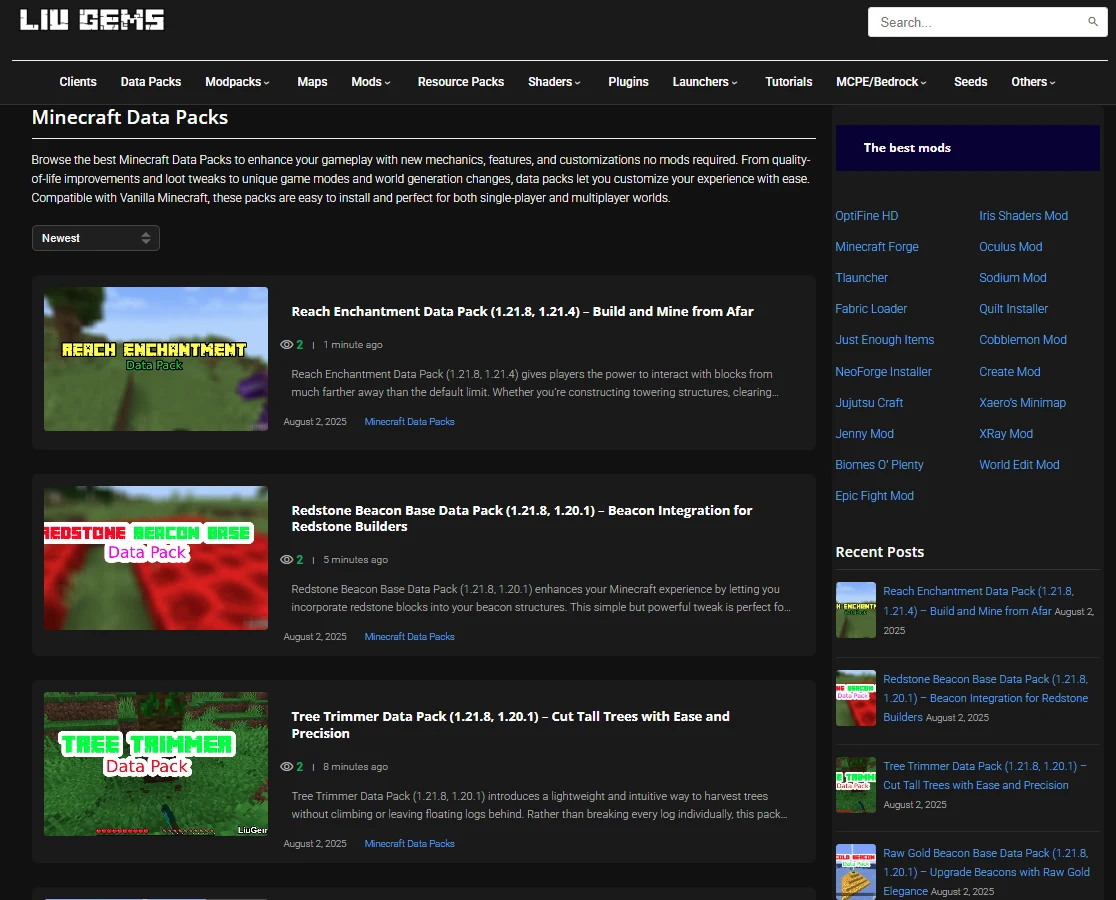
Step 2: Choose and Download a Data Pack
Browse through the list of the newest data packs on the page. Each post includes screenshots and a summary of key features to help you quickly identify the packs that match your interests.
Once you’ve found the one you want, scroll to the bottom of its post and click the download link. Be sure to select a version that matches your current Minecraft version to ensure full compatibility.
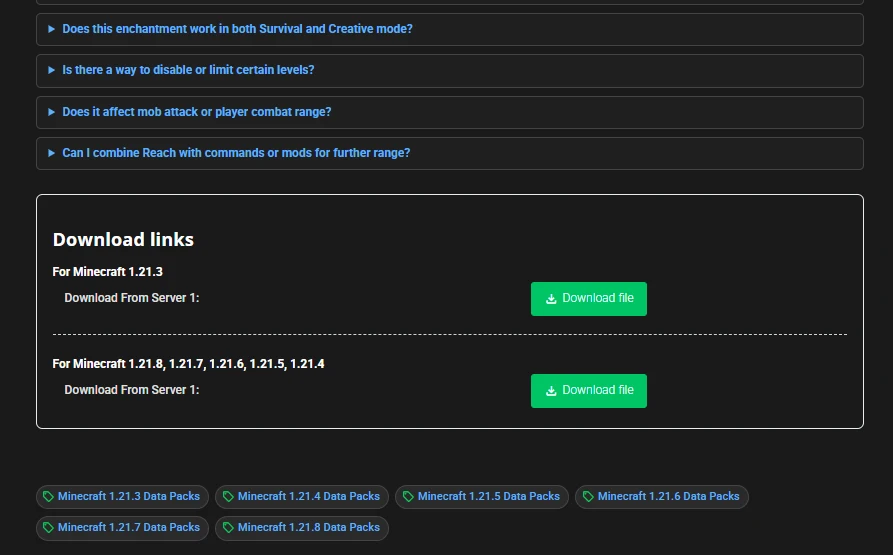
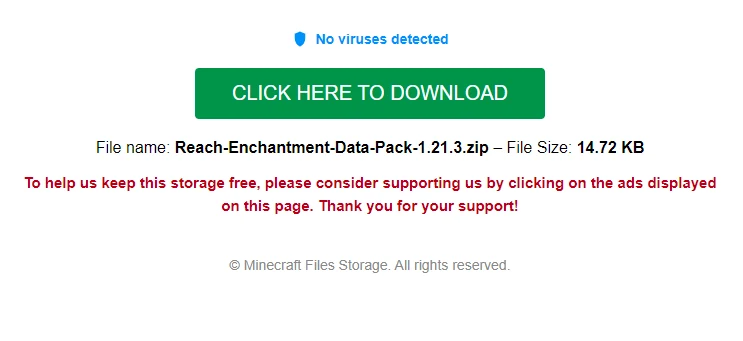
- When you click the download link, a new tab will open. Simply click the CLICK HERE TO DOWNLOAD button on that page to begin downloading the data pack to your device.
Step 3.1: Install the data pack in an existing world
Once you’ve downloaded your data pack, open Minecraft. Unlike mods or shaders, data packs must be installed individually for each singleplayer world. Here’s how:
Launch the game and go to “Singleplayer”, then choose the world you want to install the data pack into. Click “Edit” at the bottom left of the screen to proceed.

- When the world settings window appears, click on the “Open World Folder” button. This will open the file directory for your selected Minecraft world.

- Inside the world’s folder, you should see a folder named “datapacks”, go ahead and place the data pack file you have just downloaded in Step 2 into this folder.

- Click “save” and go back to the game. Your data pack has been installed.

Step 3.2: Install the data pack in a new world
Launch Minecraft and click on “Singleplayer”, then select “Create New World” to begin setting up a new world.

- In the next setup window, click on the “Data Packs” option to continue configuring your new world with custom data packs.

- A window will then appear showing two columns: available data packs and activated ones. Click on “Open Pack Folder” to access the location where you can add your downloaded data packs.

- The “Open Pack Folder” button will open the folder for your new world. Simply drag and drop the data pack file you downloaded earlier into this folder to make it available for activation.

- Return to the game, then click on the data pack you’ve just added to move it to the “Selected” list. This will activate the data pack for your new world.

- Click “Done,” then select “Create New World” to finish. Your new world will now be generated with the selected data packs already installed and active.

Step 4: Make Sure the Data Pack Is Working Properly
Most data packs activate automatically once added to your world. However, some may require a reload to function correctly.
To reload the world, simply open the chat and type the command:/reload
Then press Enter.
If cheats are disabled and you can’t use commands, follow these steps to enable them:
- Press Esc to open the pause menu.
- Click “Open to LAN”.
- Toggle “Allow Cheats: ON”.
- Click “Start LAN World”.
You’ll now be able to run commands like /reload to ensure your data pack loads correctly.

Now that you’ve successfully installed your data pack, jump into your world and enjoy a fresh, customized Minecraft experience without modifying the game’s code!