This guide will help eager players successfully find, download, and activate shader packs in Minecraft. Shaders are visual mods that significantly enhance the game’s graphics, introducing realistic lighting, shadows, reflections, and overall atmosphere. To install shaders, you must have OptiFine installed first.
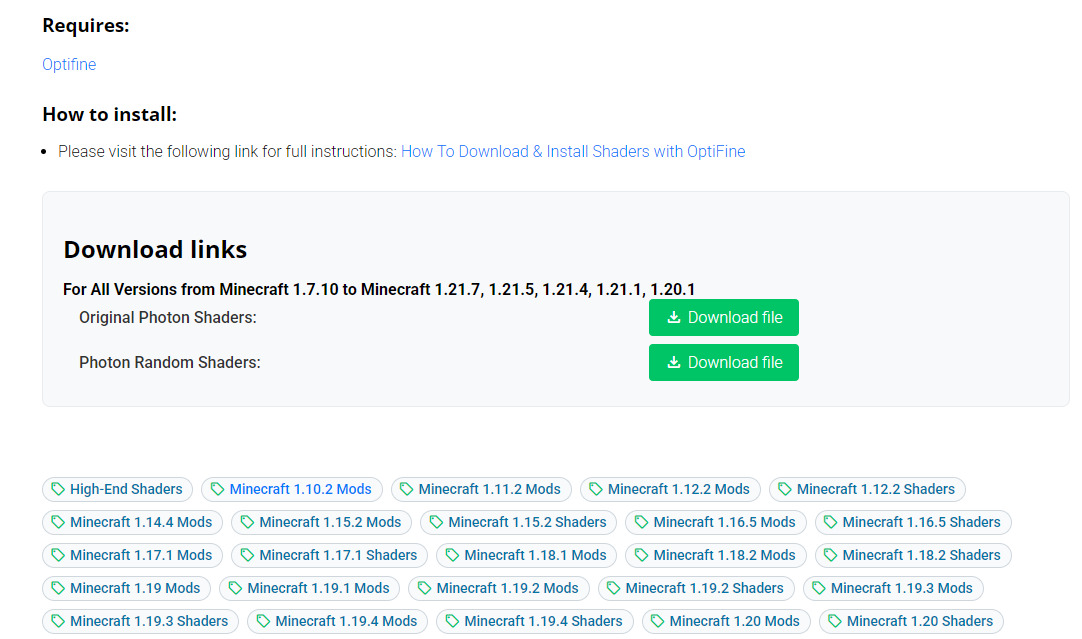
👉 Learn how to install OptiFine here: How To Download & Install Minecraft OptiFine
🔧 Quick Tutorial:
Access the Shaders download page
Browse the latest and best shader packs here:
👉 Minecraft ShadersDownload your favorite shader pack
Make sure to keep the file in.zipformat — don’t unzip it.Open the shaderpacks folder
PressWindows + R, type%appdata%, then pressEnter.
Navigate to.minecraft > shaderpacks.Place the downloaded shader file
Move the.zipfile you just downloaded into theshaderpacksfolder.Launch Minecraft with OptiFine
Start the game using the OptiFine version.Activate the shader in-game
Go toOptions→Video Settings→Shaders, then select the shader you installed.Click “Done” and enjoy
Your shaders are now active – dive into your beautifully enhanced Minecraft world!
🔧Detailed Tutorial
🧩 Step 1: Access the Shaders Download Page
There are many Minecraft shader packs available, each offering a unique visual style – from realistic lighting to fantasy-inspired aesthetics. Depending on your personal preference and PC performance, you can choose the one that suits your gameplay best.
👉 Click the link below to explore reviews and download links for the latest shader packs:
https://liugems.com/category/minecraft-shaders
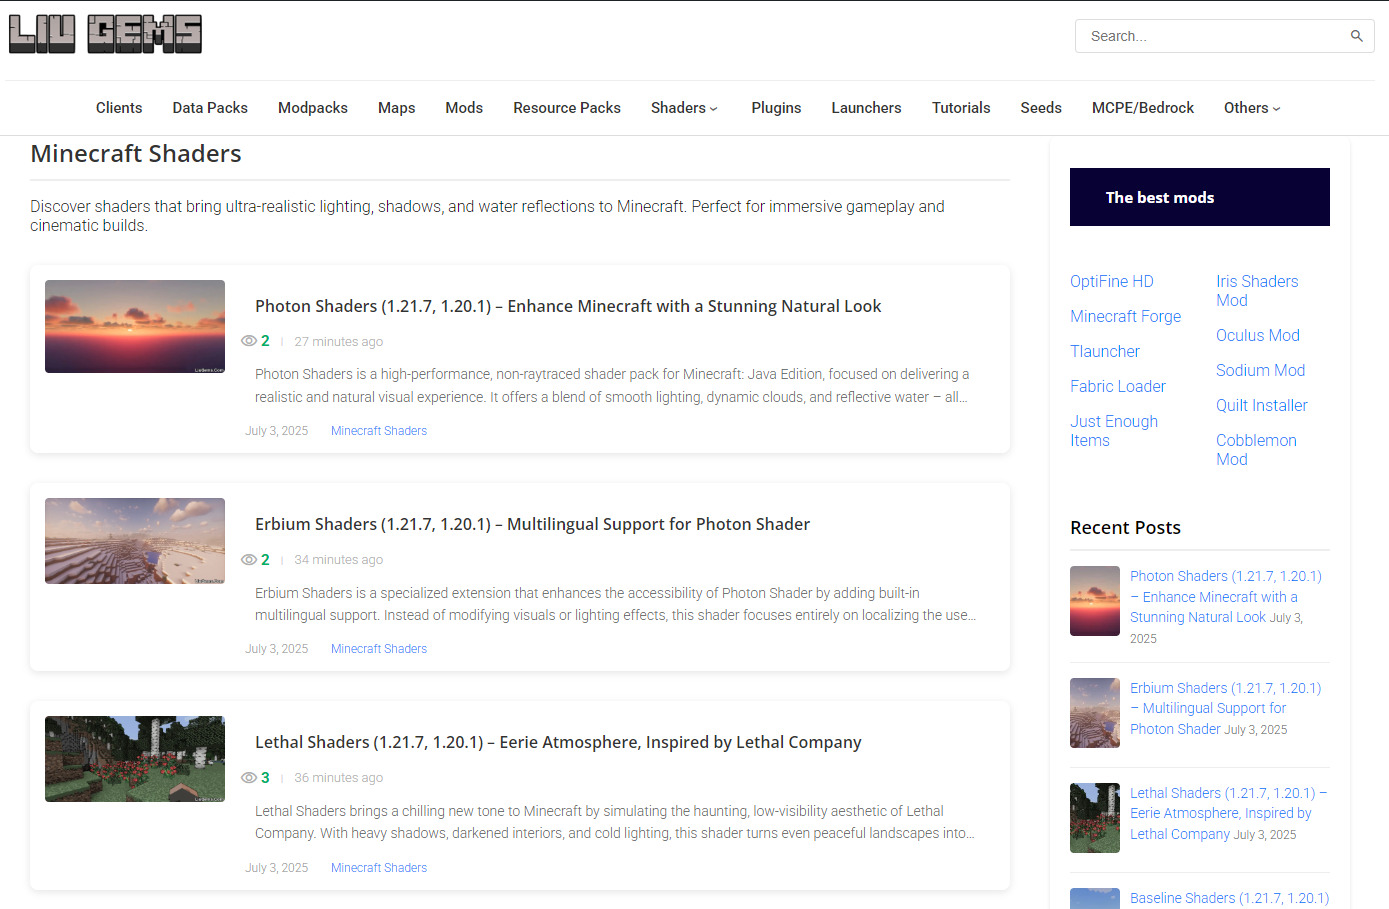
📥 Step 2: Download Your Favorite Shader Pack
As you browse through the shader packs on the download page, you’ll see a variety of options — each post includes preview images, a feature summary, and version compatibility to help you make an informed choice. Whether you’re looking for realistic lighting, vibrant colors, or fantasy-style visuals, there’s something for everyone.
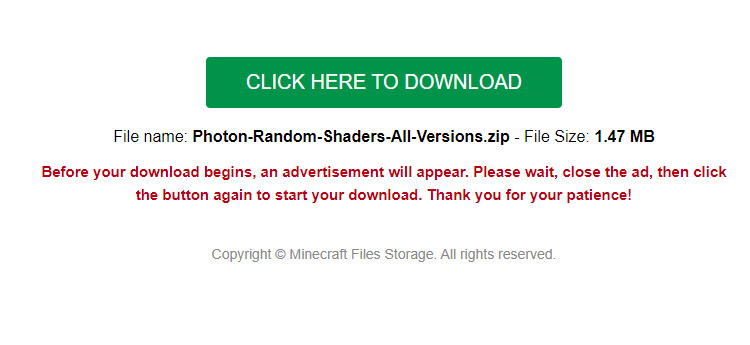
Once you’ve found the shader pack that fits your style, simply scroll to the bottom of the post and click the download link to save the shader file (usually in .zip format) to your computer.
- A new tab should appear when you follow the download link, click on the CLICK HERE TO DOWNLOAD button to start the downloading process.
📂 Step 3: Open the Shaders Folder
Now that you’ve downloaded your favorite shader pack, the next step is to move the file into the correct Minecraft folder so it can be activated in-game.
There are two ways to access the shaderpacks folder. Here’s the most common method:
🔹 Option 1: Open via Run Command
Press Windows + R on your keyboard to open the Run dialog box.
Type
%appdata%and press Enter — this opens the Roaming folder.From here, open the folder named
.minecraft.Inside, locate the folder called
shaderpacks.
If it doesn’t exist, you can create a new folder and name it exactlyshaderpacks.
Once you’re inside the shaderpacks folder, you’re ready for the next step.

🔹 Option 2: Open Directly from the Game
Launch the Minecraft Launcher and start the game using the OptiFine version.
(Note: The “Shaders” option only appears if OptiFine is installed and selected.From the main menu, click on
Options…→Video Settings…→ then clickShaders….In the Shaders menu, click the “Shaders Folder” button located at the bottom-left corner of the screen.
This will open the
shaderpacksfolder directly on your computer, where you can place the downloaded.zipshader file.

✅ Step 4: Install and Activate the Shader Pack
Once you’ve opened the shaderpacks folder (as shown in Step 3), simply move the .zip shader file you downloaded in Step 2 into this folder. There’s no need to extract the file — just drop it in as-is.
To activate the shader pack in-game:
From the Minecraft main menu, go to
Options…→Video Settings…→ then clickShaders….Inside the Shaders menu, you’ll see a list of all available shader packs.
Click on the name of the shader pack you want to use. When the shader name appears in bold, that means it’s successfully activated.
Click
Doneto save and return to the game.

🎉 You’re all set! Your chosen shader is now active – jump in and enjoy a more immersive and visually stunning Minecraft experience.