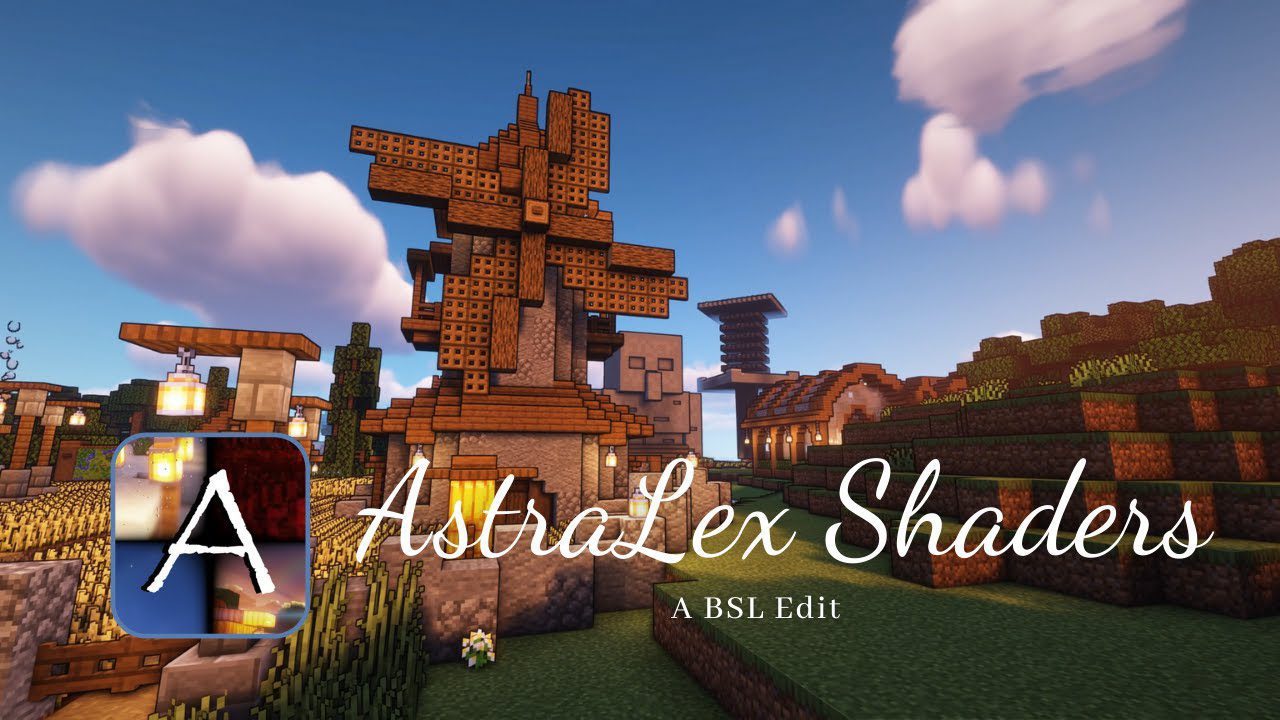
AstraLex Shaders Mod (1.21.7, 1.20.1) turns Minecraft Java Edition into a vibrant, cinematic sandbox packed with visual trickery pulled straight from triple-A games. Built on a customized BSL core, AstraLex layers hundreds of tweaks distance blur, heat-haze refraction, rapid clouds, dirty-lens bloom, film grain, motion-blur presets, and more into one cohesive experience. The result is realistic daylight, moody moon-glow, weather-driven god-rays, and enough post-processing sliders to satisfy any graphics enthusiast.
AstraLex is fully compatible with OptiFine HD, Iris Shaders, and pairs especially well with Sodium for extra FPS.
Key Features
- Lighting & Atmosphere
- Dynamic god-rays, bright moonlight, BOTW-inspired tonemap, HDR toggle, ambient tint by world-time
- Heat-haze and refraction for Nether biomes
- Distance blur that blends seamlessly with depth-of-field
- Cinematic Effects
- Bloom rework with six dirt-lens overlays
- Two film-grain styles, CRT scan-line mode, chromatic aberration, ultra-vignette system
- Motion-blur presets plus “hyper-speed” mode
- Water & Weather
- Water blur adjustment, caustics (credit EminGT), refraction control, new rain texture, double-rainbow lens flare
- Rapid clouds and dithering for the End dimension
- Gameplay Utilities
- Toggleable light-level overlay for spawn-proofing builds
- “Flash victim” outline to highlight mobs in dark areas
- Dynamic hand light, custom bow–aim reticle, distant-fade (spherical or cylindrical)
- Style Options
- Cel shading with strength slider, rainbow overlay, magical glint for enchanted gear, “rage” mode on swords
- Pick from six block-selection colors or hide obstruction textures entirely
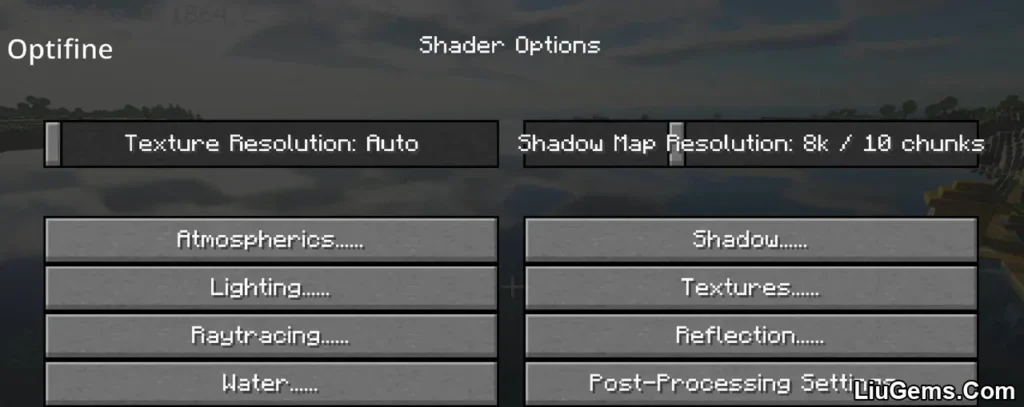
- Shadow & Performance Controls
- Shadow-quality offsets from Off to Extreme
- Blur-quality switch (60 vs 119 offsets) and adjustable Fresnel, bloom, and water-normals
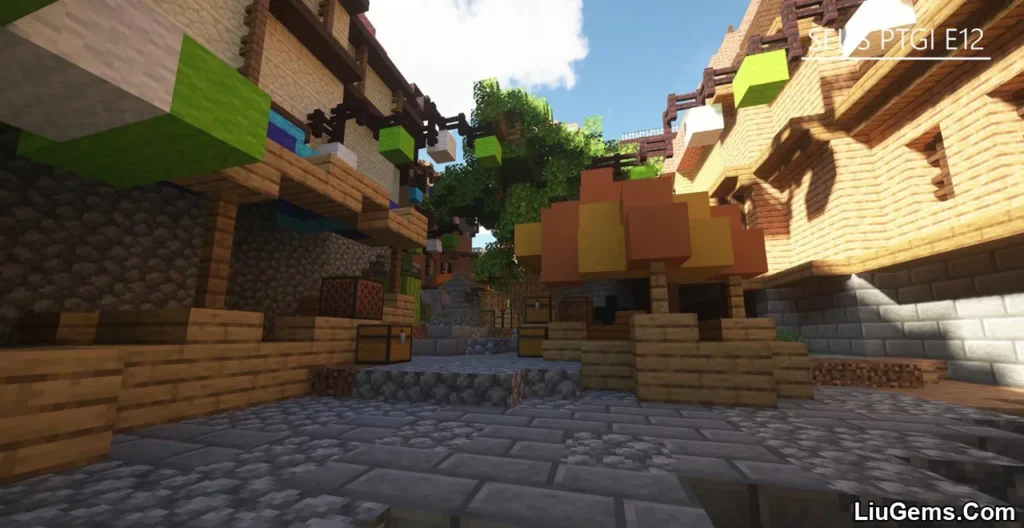
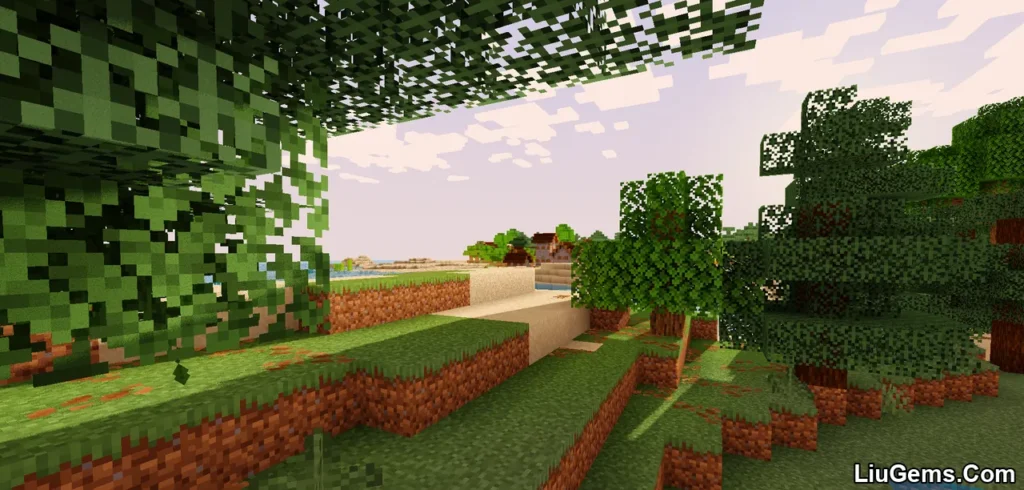
Screenshots:


Why Choose AstraLex?
- Optimized for mid-range GPUs – Extreme presets push high-end rigs; lighter presets still look miles better than vanilla.
- Ultra-customizable – Every visual category has on/off toggles or sliders.
- High-impact visuals – God-rays, film grain, CRT, and heat haze create a “graphics-mod” feel without extra resource-packs.
- Gameplay friendly – Light-level viewer, dynamic hand light, and clear nights keep survival practical.
FAQs
Does AstraLex require a powerful PC?
Not necessarily. The shader has multiple quality presets. Medium settings run on cards like GTX 1050 Ti; Extreme targets RTX-class GPUs.
OptiFine or Iris?
Both work. Iris + Sodium offers smoother performance; OptiFine is simpler to install.
Is AstraLex good for PvP?
Yes—use the light-level overlay, motion-blur Off, and keep bloom minimal for clear vision.
Can I disable film grain or CRT effects?
Absolutely. Every post-processing element can be toggled or fine-tuned in the shader menu.
Which Minecraft versions are supported?
Official profiles cover 1.16 – 1.21.7. Newer versions typically work once Iris or OptiFine updates.
AstraLex Shaders Mod – DirtIMG Replacement Instructions
DirtIMG is a visual overlay used when bloom is enabled and you’re looking at a bright light source. This feature adds a dirty lens effect to enhance realism.
How to Replace the DirtIMG Overlay:
- Download and unzip the DirtIMG Pack.
- Open your
.zipfile of the AstraLex Shader. - Locate the
DirtyIMGfolder from the downloaded pack and move it to your desktop for easy access. - Choose the image variant you want to use from the
DirtyIMGfolder. - Copy and paste that image into the shader archive at this path:
shaders/tex/. - Replace the existing file when prompted, then save and close the archive.
- Back in Minecraft, press F3 + R to reload the shaders.
- Done! Your new dirty lens effect is now active.
Requires:
Iris Shaders Mod (Optional)
How to install:
- Please visit the following link for full instructions: How To Download & Install Shaders with OptiFine
Download links
- Download from Server 1:download Download file
- Download from Server 1:download Download file